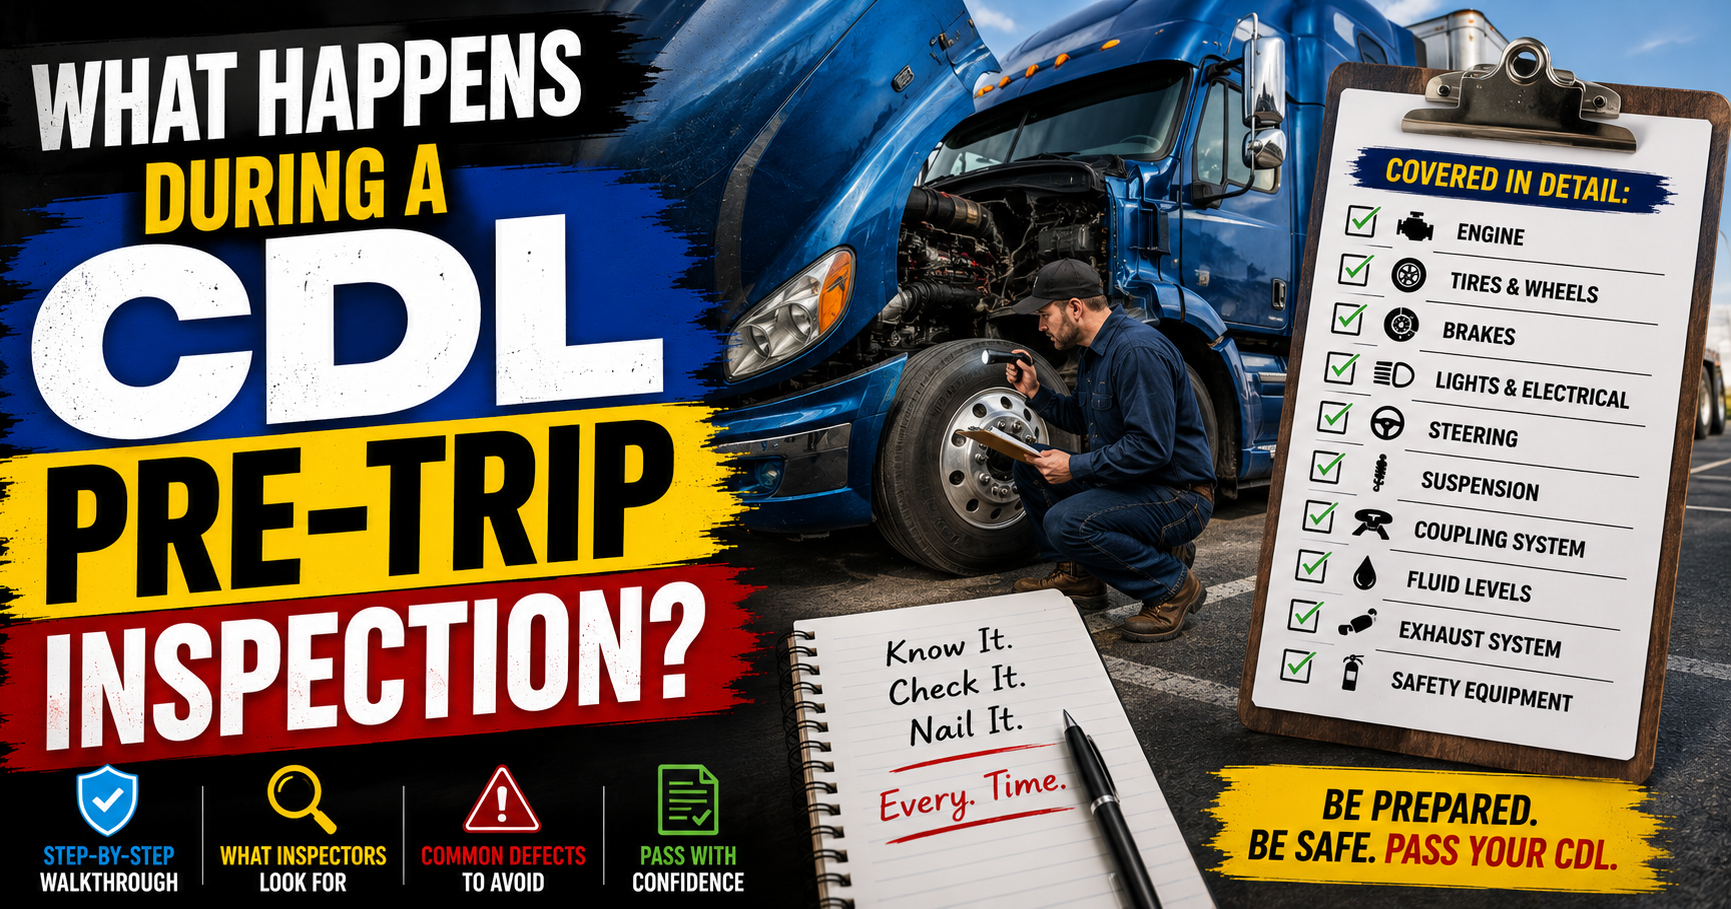
If there’s one part of the CDL skills test that makes students nervous, it’s usually the pre-trip inspection.
I’ve seen people who could back a trailer into a tight dock without much trouble completely freeze when an examiner asked them to explain what they were checking under the hood.
The good news is that the pre-trip inspection isn’t about trying to trick you.
The examiner wants to know that you can identify major components, recognize potential safety problems, and understand why those inspections matter before taking a commercial vehicle onto the road.
After spending more than 20 years around commercial trucks, I can tell you that pre-trip inspections aren’t just something you do to pass your CDL test.
They’re one of the most important habits you’ll develop as a professional driver.
In this guide, I’ll walk you through the major areas you’ll inspect, share a few tips that helped me over the years, and explain how to avoid some of the most common mistakes I see new drivers make.
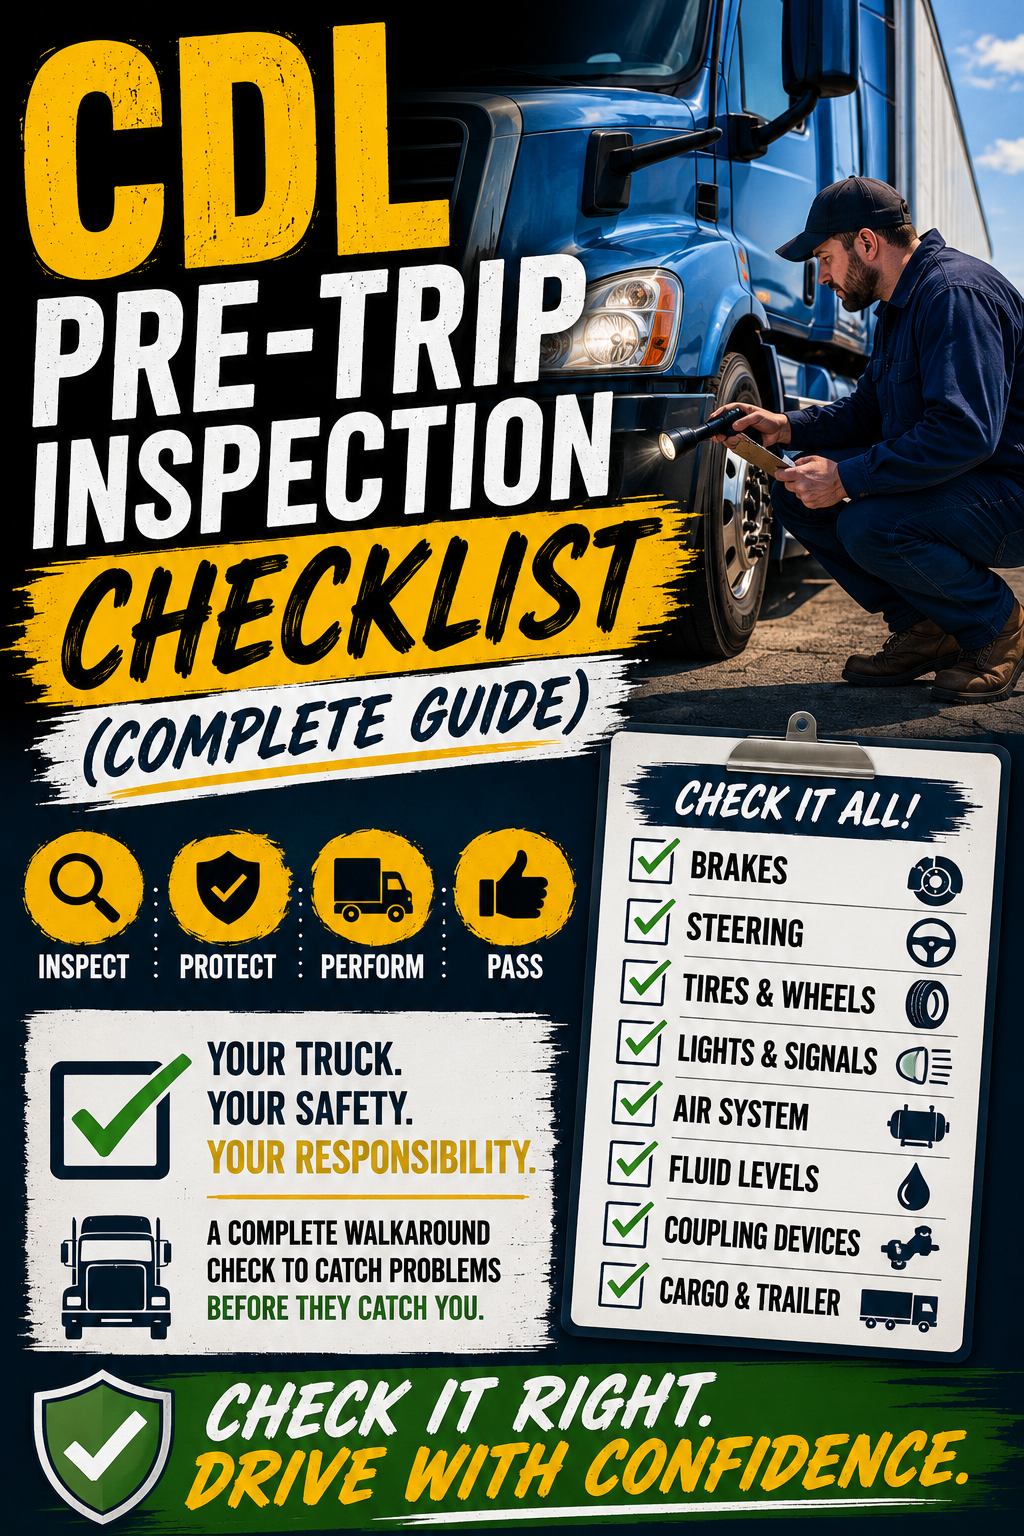
Why the Pre-Trip Inspection Matters
Every commercial driver has heard stories about trucks breaking down on the side of the highway because something small was overlooked before leaving the yard.
Sometimes it’s a low tire.
Sometimes it’s a damaged airline.
Sometimes it’s a missing cotter pin or a leaking brake chamber.
Many of those problems could have been caught during a careful inspection.
That’s why the CDL pre-trip inspection is such a big part of the licensing process.
It’s teaching you to catch small problems before they become expensive repairs or dangerous situations.
If you’re still working toward your CDL, our How to Get a CDL: Step-byStep Guide for New Drivers explains where the pre-trip inspection fits into the overall licensing process.
Bring the Right Mindset
One mistake I see all the time is students trying to memorize a speech.
That approach might help you remember the order of parts, but it doesn’t help you understand what you’re actually looking for.
Instead, imagine you’re inspecting your own truck before heading out on a long trip.
Ask yourself questions like:
- Is anything loose?
- Is anything cracked?
- Do I see leaks?
- Does anything look damaged?
- Is everything mounted securely?
Once you start thinking that way, the inspection becomes much more natural.
Start Under the Hood
Many CDL schools begin the inspection in the engine compartment.
Although the exact order varies, you’ll usually inspect items such as:
- Engine oil
- Coolant
- Power steering fluid
- Windshield washer fluid
- Belts
- Hoses
- Steering components
- Suspension parts
- Brake components
Don’t simply point at the part.
Explain what you’re checking.
For example, instead of saying “belt,” describe that it’s properly mounted, not excessively worn, and has no cuts or fraying.
The examiner wants to hear that you understand what makes a component safe to operate.
Check the Steering and Suspension
As you continue your inspection, pay close attention to the steering and suspension systems.
You’re looking for components that are:
- Securely mounted
- Not cracked
- Not bent
- Not broken
- Free from unauthorized repairs
- Operating as intended
These systems play a huge role in controlling a commercial vehicle.
Even something that seems minor can become a major safety concern if ignored.
Inspect the Brake System Carefully
If I could give one piece of advice about the pre-trip inspection, it would be this.
Don’t rush through the brakes.
Commercial air brake systems are one of the most important safety features on the truck.
Take your time inspecting items like:
- Brake chambers
- Slack adjusters
- Brake drums
- Brake linings
- Air hoses
- Mounting hardware
Understanding how these components work together will help you far beyond the CDL exam.
If you’re still studying air brake systems, our Free CDL Air Brakes Practice Test 1 is a great way to reinforce what you’re learning before test day.
Don’t Forget the Tires and Wheels
Tires receive plenty of attention during the CDL skills test, and for good reason.
A tire failure on a commercial truck can have serious consequences.
During your inspection, you’ll typically check for:
- Proper inflation
- Adequate tread depth
- Cuts or damage
- Objects lodged in the tire
- Sidewall damage
- Wheel damage
- Missing lug nuts
- Leaking wheel seals
Take your time here.
Many students move too quickly and accidentally skip an important item.
Use the Same Routine Every Time
One habit that helped me throughout my career was inspecting the truck the same way every single day.
Instead of randomly walking around the vehicle, I followed the same path every time.
That routine made it much harder to forget something.
It also made the CDL skills test much less stressful because I wasn’t trying to remember where to go next.
Your exact routine doesn’t matter nearly as much as being consistent with it.
Inspect the Coupling System on Combination Vehicles
If you’re earning a Class A CDL, you’ll also need to inspect the components that connect the tractor to the trailer.
This is an area where I always tell students to slow down.
You’re checking the parts that keep the trailer securely attached to the tractor while you’re traveling down the highway. Missing something here isn’t just a test mistake. It can become a serious safety hazard.
Your inspection will typically include:
- Fifth wheel
- Kingpin
- Apron
- Locking jaws
- Release arm
- Mounting bolts
- Platform
- Air lines
- Electrical cord
- Glad hands
When you’re describing each part, explain what you’re looking for rather than simply naming it.
For example, mention that mounting bolts are present and secure, air lines aren’t cut or leaking, and the fifth wheel is properly greased and free from obvious damage.
If you’re studying for the Class A written exam as well, our Free CDL Combination Vehicles Practice Test is a great way to reinforce these concepts before test day.
Check the Trailer Carefully
Once you’ve finished inspecting the tractor, move to the trailer.
Just because the trailer doesn’t have an engine doesn’t mean there’s less to inspect.
Walk around it methodically and check the major components, including:
- Trailer frame
- Landing gear
- Suspension
- Brake system
- Tires
- Wheels
- Lights
- Reflectors
- Mud flaps
- Doors and hinges
If you’re hauling cargo, it’s also important to look for anything that appears loose or improperly secured.
A shifted load can affect how the truck handles and may even create a dangerous situation on the road.
Don’t Overlook Cargo Securement
I’ve seen new drivers focus so much on the truck itself that they barely glance at the load.
That’s a mistake.
Improperly secured cargo can shift during braking, while cornering, or when traveling over rough roads.
Even if the vehicle is mechanically perfect, an unsecured load can still create a serious safety risk.
Before leaving, always make sure the cargo is properly distributed and secured according to the type of trailer and freight you’re hauling.
If you’re studying this topic for your written exam, take a few minutes to work through our CDL Cargo Loading, Weight Distribution & Securement Practice Test to build confidence before exam day.
Complete the In-Cab Inspection
After finishing the outside inspection, you’ll move inside the truck.
The in-cab inspection confirms that important safety equipment and warning systems are working properly.
Depending on your state’s testing requirements, you’ll likely check items such as:
- Seat belt
- Mirrors
- Horn
- Windshield wipers
- Heater and defroster
- Gauges
- Warning lights
- Air pressure gauges
- Parking brakes
- Service brakes
This is also where you’ll demonstrate several air brake tests if you’re operating a vehicle equipped with air brakes.
Take your time.
The examiner isn’t looking for speed.
They’re looking for accuracy.
Practice Your Inspection Out Loud
One trick that helped me years ago was practicing exactly the way I’d perform the inspection during the CDL test.
Instead of silently pointing at parts, I spoke every inspection point out loud.
It felt a little awkward at first, but by the time test day arrived, explaining each component felt completely natural.
If possible, practice with another student or instructor who can stop you when you accidentally skip something.
It’s much easier to fix those mistakes before you’re standing in front of an examiner.
A Good Light Makes Every Inspection Easier
Not every inspection happens in perfect daylight.
Early morning departures, cloudy weather, and roadside inspections often mean you’ll be working in poor lighting.
One piece of equipment I’ve carried for years is a dependable rechargeable headlamp. Having both hands free while checking brake components, suspension parts, or looking underneath a trailer makes inspections much easier than trying to hold a flashlight.
The Coast XPH30R USB-C Rechargeable Headlamp has become one of my favorite tools because it’s bright, rechargeable, and the magnetic base comes in handy when working around equipment.

Common Pre-Trip Inspection Mistakes
Over the years, I’ve watched plenty of students take their CDL skills test.
Most mistakes fall into a few common categories.
- Moving too quickly through the inspection.
- Forgetting to explain what they’re checking.
- Skipping one or two components.
- Naming parts without describing their condition.
- Letting nerves rush the inspection.
The best way to avoid these mistakes is simple.
Develop a routine.
Practice it the same way every time.
The more consistent your inspection becomes, the easier it will be to perform under pressure.
My Advice Before Your CDL Skills Test
The pre-trip inspection probably feels overwhelming when you first start learning it.
That’s normal.
Almost every experienced truck driver has stood exactly where you are now, wondering how anyone could possibly remember every component on a commercial vehicle.
Then one day, after enough practice, it starts to click.
Instead of trying to remember a script, you begin understanding the truck itself.
That’s when your confidence really starts to grow.
If you’re preparing for the inspection portion of your CDL exam, I highly recommend taking our CDL Vehicle Inspection Practice Test after reviewing this checklist. It’s an excellent way to see how well you know the inspection process before test day.
You can also find more CDL training guides, study resources, and practice tests throughout our Trucking Topics page as you continue preparing for your commercial driving career.
Author: David Walker
David Walker is a former CDL instructor with more than 22 years of experience teaching new commercial drivers. Throughout his career, he’s helped hundreds of students master pre-trip inspections, air brake systems, backing maneuvers, and CDL skills testing. His goal is to make complicated topics easier to understand so new drivers can build confidence and succeed on exam day.